





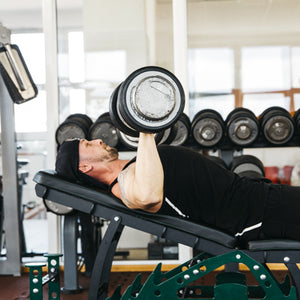

OVERHEAD LIFTING AFTER SHOULDER SURGERY
Overhead Lifting After Shoulder Surgery: A Real Timeline
Table of Contents
- The Real Numbers on Returning to Overhead Lifting After Shoulder Surgery
- Shoulder Surgery Recovery Timeline for Athletes: What Actually Happens
- Weight Limits and Load Management for Overhead Lifting
- Overhead Press Alternatives for Shoulder Rehab
- Signs of Shoulder Impingement During Lifting
- Joint Support and Recovery Nutrition During Rehab
- When to Get Surgeon Clearance Before Heavy Lifting
- Building Your Recovery Plan: Use the Right Tools
- Conclusion: Stay Consistent, Follow the Protocol
- Frequently Asked Questions
Last Updated: October 1, 2026
The Real Numbers on Returning to Overhead Lifting After Shoulder Surgery
Let me be straight with you: returning to overhead lifting after shoulder surgery isn't a guessing game. The data is clear, and it's better than most people think.
According to a 2026 multicenter study in PubMed, 93.1% of weightlifters successfully returned to lifting after shoulder arthroplasty. Even better, 79.4% maintained or improved their performance compared to pre-surgery levels. This isn't theoretical, this is real data from 175 athletes tracked over an average of 23.3 months.
The difference between athletes who return strong and those who struggle is simple: structured protocol, timeline respect, and understanding what your shoulder can handle at each phase.
Here's what you need to know.
Shoulder Surgery Recovery Timeline for Athletes: What Actually Happens
Recovery breaks into three phases. Skip one or rush, and you're asking for trouble. Respect it, and you'll return to serious lifting.
Weeks 1-6: Protection Phase
This phase is about healing, not training. Your arm is immobilized. Passive range of motion exercises start immediately, someone else moves your arm, but you're not contracting muscles against resistance.
Pain is your guide, if it hurts, stop. Swelling is normal. Ice and elevation are essential. By week 6, start gentle active range of motion work (you move your arm, no external weight).
Weeks 7-12: Mobilization and Resistance Bands
Resistance bands become your primary tool. They provide variable resistance, easier at the start, harder at the end, matching your shoulder's actual recovery curve. You build stability and strength without fixed loads.
By week 8-10, you'll progress to light resistance band work: chest flies, rows, and lateral raises. Nothing overhead yet. The goal is mobility first, strength second.
According to Oregon Shoulder protocols, resistance bands are now the standard bridge to weight training in most recovery programs. They allow progressive loading without the shock of free weights.
By week 12, many athletes can handle light dumbbells, think 5-10 pounds, for isolation work. Still no compound movements. Still nothing overhead.
Months 4-6: Progressive Weight Training
By month 4, begin light barbell work: bench press with just the bar, light rows, light squats. Nothing that loads the shoulder directly. Movement quality over load.
By month 5-6, you're adding weight gradually. Washington University Orthopedics guidelines recommend a maximum of 25 pounds for routine overhead lifting during this phase. That's not a permanent limit, it's a checkpoint.
The research is clear: a 2023 Journal of Shoulder and Elbow Surgery analysis found that 86.1% of high demand weightlifters achieved return to sport when they followed structured progression protocols. The athletes who skipped steps? Their outcomes were significantly worse.
Weight Limits and Load Management for Overhead Lifting
Most guides say "don't lift heavy" without explaining what that means or when it changes.
Your weight limits depend on your phase of recovery:
- Weeks 1-6: Zero resistance. Movement only.
- Weeks 7-12: Resistance bands only. Light to moderate tension.
- Months 3-4: Light dumbbells. 5-15 pounds maximum.
- Months 4-6: Progressive loading. Up to 25 pounds overhead.
- Months 6-12: Gradual increases. Test maximal strength only after 10-12 months.
The 25-pound ceiling is a safety checkpoint. After 12 months, current protocols advise against maximal strength testing until graft or implant integrity is fully confirmed.
Progressive overload is still the goal on a longer timeline: add 2-5 pounds every 2-3 weeks. Patience wins.
Overhead Press Alternatives for Shoulder Rehab
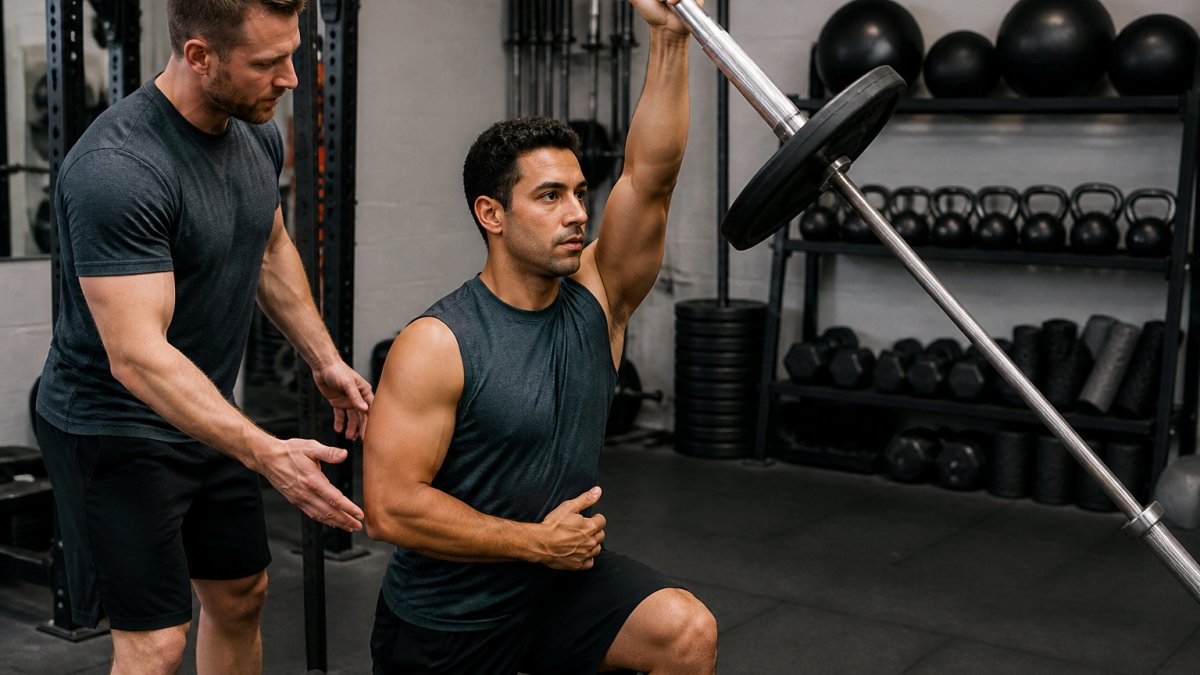
You can't press overhead for months, but you're not stuck doing nothing. Match the right movement to your recovery phase.
Weeks 7-12: Resistance Band Work
Resistance bands provide variable resistance, easiest at the start (where your shoulder is weakest) and hardest at the end (where you're strongest). This matches your shoulder's actual strength curve.
- Resistance band chest flies: Stable plane of motion, no joint compression. Progress by stepping farther from anchor or using heavier band.
- Resistance band rows: Builds posterior chain stability. Rear delts and rhomboids are critical post-surgery; rows reduce compensation patterns.
- Resistance band lateral raises: Isolates lateral deltoid without rotator cuff loading. Light tension, controlled movement.
Months 3-4: Transition to Light Dumbbells and Machines
Once you handle band tension without pain or swelling, light dumbbells enter.
- Machine chest press: Fixed path removes stabilization demand. Start with machine weight, add 5-pound increments every 2-3 weeks.
- Incline dumbbell press: 45-degree angle reduces rotator cuff stress. Press 5-10 pounds; incline protects the repair.
- Landmine presses: 45-degree angle is biomechanically safer than straight barbell. Load with sleeve weight or single 10-pound plate per side.
- Cable machine work: Constant tension throughout range of motion builds stability without free-weight shock.
Months 4-5: Floor Press and Controlled Range of Motion
Month 6+: Return to Overhead Pressing (With Progression)
Signs of Shoulder Impingement During Lifting
Pain isn't weakness leaving the body. Pain is a warning signal. But not all shoulder pain during recovery means the same thing. Learn to read it.
What Is Impingement?
Red Flag Symptoms: Stop and Modify
- Sharp, localized pain in the shoulder joint itself (not the muscle belly). This is different from muscle fatigue, which is a dull, diffuse burn.
- Pain that worsens as you lift higher in the range of motion. This is the classic sign of tissue getting pinched as the shoulder moves into a narrower space.
- Clicking, popping, or catching sensations during movement. Your shoulder is mechanically binding. Stop the set immediately.
- Pain that lingers or worsens after training. Muscle soreness improves within hours or a day. Impingement pain often gets worse over 24-48 hours if you keep loading it.
- Sudden weakness that wasn't there yesterday. Not fatigue, actual loss of strength. This suggests inflammation or a structural issue.
- Pain that radiates down the arm or into the neck. This can indicate nerve involvement, which requires immediate medical attention.
Good Pain vs. Bad Pain: The Decision Tree
What to Do When You Feel Impingement
- Stop the set immediately. Do not push through. One more rep is not worth re-injuring the repair.
- Reduce the range of motion. If overhead pressing causes impingement, drop to incline pressing or floor pressing. If lateral raises cause it, reduce the height you raise to.
- Reduce the load. Drop 5-10 pounds and try again. If pain persists, stop that exercise for the day.
- Ice for 15 minutes post-training if swelling or pain is present.
- Contact your surgeon if pain persists beyond one session or if swelling increases. A quick check-in beats months of setback.
Prevention: The Real Strategy
Impingement is often preventable:
- Respect your phase of recovery. Don't load overhead movements before month 6 unless cleared.
- Progress gradually. Add 2-5 pounds every 2-3 weeks, not every session.
- Maintain form. Compensation patterns (shrugging, arching excessively, rotating the torso) narrow the shoulder joint space and increase impingement risk. Film yourself or train with a coach.
- Build posterior chain strength. Weak rear delts and rhomboids force your anterior shoulder to compensate, increasing impingement risk. Rows and reverse flyes are non-negotiable.
- Don't skip mobility work. Tight shoulders have less space for tissue. Daily band pull-aparts, sleeper stretches, and cross-body shoulder stretches reduce impingement risk.
When to Seek Immediate Medical Attention
- Sudden, severe pain during a lift
- Immediate loss of strength or inability to move the arm
- Swelling that develops within minutes
- Pain radiating down the arm with numbness or tingling
- Any sign of re-injury (popping sensation, feeling like something "gave way")
Joint Support and Recovery Nutrition During Rehab
Your shoulder is rebuilding tissue. Nutrition either accelerates that or gets in the way.
When to Get Surgeon Clearance Before Heavy Lifting
Don't guess. Get clearance.
Your surgeon needs to clear you before:
- Returning to overhead pressing
- Loading the shoulder with heavy weight
- Returning to sport specific training
- Testing your maximal strength
Clearance typically comes at these checkpoints:
- 6-8 weeks: Light range of motion work approved
- 3 months: Light resistance band training approved
- 4-6 months: Light weight training approved
- 6+ months: Overhead pressing and heavier loads approved (with progression)
- 10-12 months: Maximal strength testing approved
Your surgeon will do a physical exam, possibly imaging, and assess your strength and stability. They're looking for:
- Full or near full range of motion
- No signs of re-injury
- Strength comparable to your unaffected shoulder
- Stability during loaded movements
Building Your Recovery Plan: Use the Right Tools
Creating a structured recovery plan is critical. You need to track your progress, adjust loads intelligently, and know exactly where you are in your timeline. Tiger Fitness offers FREE TOOLS & FITNESS CALCULATORS that help you calculate training volume, track progression, and plan your return to lifting with precision. Use them to stay accountable and ensure you're progressing within safe parameters.
Conclusion: Stay Consistent, Follow the Protocol
The data doesn't lie: 93.1% of athletes return to lifting after shoulder surgery. But that statistic only applies if you follow the protocol.
Stay consistent. The comeback is real.
Frequently Asked Questions
Can you ever lift weights again after shoulder surgery?
Yes. A 2026 study in the American Shoulder and Elbow Surgeons journal found that 93.1% of weightlifters successfully returned to lifting after shoulder arthroplasty, with an average follow-up of 23.3 months. Even better, 79.4% of those lifters maintained or improved their performance compared to pre-surgery levels. The key is following a structured protocol and getting surgeon clearance before progressing.
What is the overhead lifting after shoulder surgery timeline for getting back to heavy weight?
Most athletes can begin light resistance training around 3 months post-op, progress to moderate weights by 4-6 months, and return to heavy lifting between 6-12 months depending on surgical type and individual healing. Maximal strength testing should be delayed until 10-12 months post-surgery to protect the repair. Always get your surgeon's clearance before advancing to the next phase.
What weight can I safely lift overhead after shoulder surgery?
The recommended maximum weight for routine overhead lifting post-surgery is 25 pounds, according to Washington University Orthopedics 2024 guidelines. This applies during the early to intermediate recovery phases. As you progress through rehabilitation and regain strength, your surgeon will advise when you can increase load. Progressive overload must be gradual, adding 2-5 pounds every 2-3 weeks once cleared.
What are the signs I'm overtraining during shoulder rehab?
Watch for sharp pain (not just muscle soreness), increased swelling, loss of range of motion, or persistent pain lasting more than 2 hours after exercise. If you experience clicking, catching, or instability, stop immediately and contact your surgeon. Shoulder rehab requires patience, pushing too hard too fast is the fastest way to re-injury and a longer recovery timeline.
Leave a comment