





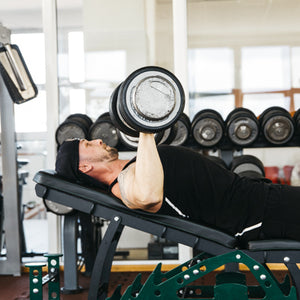

HOW TO MEASURE MUSCLE STRENGTH
Track Strength Gains After Injury: A Step-by-Step Guide
Table of Contents
- Why Strength Tracking Matters During Injury Recovery
- How to Measure Muscle Strength Objectively
- Setting Up Your Injury Recovery Workout Log
- Strength Progress Tracking: Progressive Overload After Injury
- Return to Exercise After Injury: Safe Progression Framework
- Tracking Asymmetry: Comparing Injured and Uninjured Sides
- Red Flags: When to Stop Training and Seek Professional Help
- Frequently Asked Questions
Last Updated: October 10, 2026
Why Strength Tracking Matters During Injury Recovery
Listen, most people come back from injury and wing it. They guess when they're ready to add weight.
Tracking strength gains after injury isn't optional, it's the difference between a smart comeback and a wasted recovery window.
According to research on resistance training injuries, prospective tracking that connects specific lifting activity with injury outcomes can improve understanding of injury prevention.
Here's what most guides miss: strength alone doesn't tell the full story.
How to Measure Muscle Strength Objectively
Baseline Testing and Initial Assessment
Before you load a single plate, establish where you actually are. A baseline isn't your old one-rep max, it's what you can do right now, safely, with perfect form.
Work with a physical therapist or qualified trainer to test these movements in your first week of cleared activity:
- Isometric holds: How long you can maintain a position under load (measure in seconds)
- Repetition maximum at light weight: Pick a conservative weight and count clean reps until form breaks
- Pain-free range of motion: Document the full range you can move through without discomfort
- Bilateral comparison: Test the injured side and the uninjured side to see the gap
Write these numbers down. Photograph your form from multiple angles. This baseline becomes your reference point for every decision going forward.
The mistake people make is testing too heavy too soon. Your baseline should feel easy. Uncomfortable, maybe, but not risky. You're establishing the floor, not proving anything.
Strength Metrics That Matter
Not all numbers are created equal. Focus on what actually predicts safe progression.
One-rep max equivalent (1RM): Use a calculator or the Epley formula to estimate your one-rep max from a submaximal lift. Tiger Fitness offers FREE TOOLS & FITNESS CALCULATORS that can help you estimate your 1RM and track progression accurately.
Total training volume: Multiply sets × reps × weight. Volume is the total work your muscle does.
Rate of perceived exertion (RPE): On a scale of 1-10, how hard was that set?
Pain-free range: Document the degrees of motion you can achieve without pain.
Keep these four metrics in your log. They paint a complete picture.
Setting Up Your Injury Recovery Workout Log
What to Log and How Often
Log every single session. Not once a week, immediately after training while it's fresh.
Here's what goes in:
- Date and time
- Exercise name and variation (e.g., "dumbbell bench press, 30-degree incline")
- Weight used
- Sets and reps completed
- RPE for the hardest set
- Pain level: 0-10 (0 = none, 10 = stop immediately)
- Movement quality notes ("form tight," "slight compensation on rep 8," "felt stable")
- How you felt overall (energy, sleep quality the night before, any lingering soreness)
This takes 60 seconds per exercise. Do it anyway.
Why? Because patterns emerge. You'll notice that on days after poor sleep, your strength drops 10-15%. You'll see that certain exercises cause pain spikes 24 hours later, signaling you need to regress. You'll track when your energy crashes, which tells you to dial back volume.
Data beats intuition. Every time.
Sample Log Template and Data Points
Here's a template you can use in a spreadsheet, notebook, or app:
| Date | Exercise | Weight | Sets × Reps | RPE | Pain (0-10) | Movement Notes | Energy Level |
|---|---|---|---|---|---|---|---|
| 10/1/26 | DB Bench (incline) | 25 lbs | 3 × 8 | 6 | 0 | Stable, controlled | Good |
| 10/1/26 | DB Row (single arm) | 30 lbs | 3 × 6 | 5 | 1 | Slight hesitation at bottom | Good |
| 10/3/26 | DB Bench (incline) | 27.5 lbs | 3 × 8 | 6 | 0 | Form solid, ready to progress | Good |
| 10/3/26 | DB Row (single arm) | 30 lbs | 3 × 7 | 6 | 1 | Pain returned, regress weight | Tired |
See the pattern? Bench press is progressing clean. Rows are causing pain, time to drop weight or change the angle. Energy is dropping on day 3, suggesting volume is climbing too fast.
Pro Tip Use a simple spreadsheet or a training app. The format matters less than consistency. If you'll actually use it, it's the right tool.
Strength Progress Tracking: Progressive Overload After Injury
Incremental Weight Increases and Volume Progression
Progressive overload is how you rebuild strength.
Here's the system:
Week 1-2: Establish baseline. Use light weight. Focus on movement quality and pain-free range. No progression yet.
Week 3 onward: Once you've completed two clean weeks with zero pain, increase weight by the smallest increment possible:
- Dumbbells: 2.5-5 lbs per side
- Barbell: 5-10 lbs total
- Machine or cable: 5-10 lbs
Complete the same reps with the new weight.
Once you hit your target reps at RPE 6-7 for two consecutive weeks, increase weight again.
Volume progression happens in parallel:
- Week 1: 2 sets per exercise
- Week 2: 2-3 sets per exercise
- Week 3: 3 sets per exercise
- Week 4: 3-4 sets per exercise (only if pain and energy are stable)
Add one set per exercise only when you've hit your rep target cleanly for two weeks.
This sounds slow. It is. It's also how you actually come back without re-injury.
Watch Out Adding weight too fast is the #1 reason people re-injure themselves. The pain you feel during a lift is not the same as the damage that happens 24-48 hours later. Progress conservatively.
Recognizing Plateaus and Adjusting Your Plan
A plateau is three consecutive weeks with zero progress. No new reps, no new weight, same volume.
When you hit a plateau, don't push harder. Change something:
Option 1: Reduce volume by one set. Sometimes the plateau signals overtraining. Drop a set, maintain weight and reps, and see if strength returns.
Option 2: Change the exercise variation. If dumbbell bench press is stuck, switch to machine press or a different angle.
Option 4: Assess recovery. Sleep, stress, and nutrition drive strength gains.
Log the reason for the plateau in your notes. Over time, you'll see what works for you.
Return to Exercise After Injury: Safe Progression Framework
Phase 1: Mobility and Activation Work
The first phase isn't about strength. It's about movement quality and blood flow.
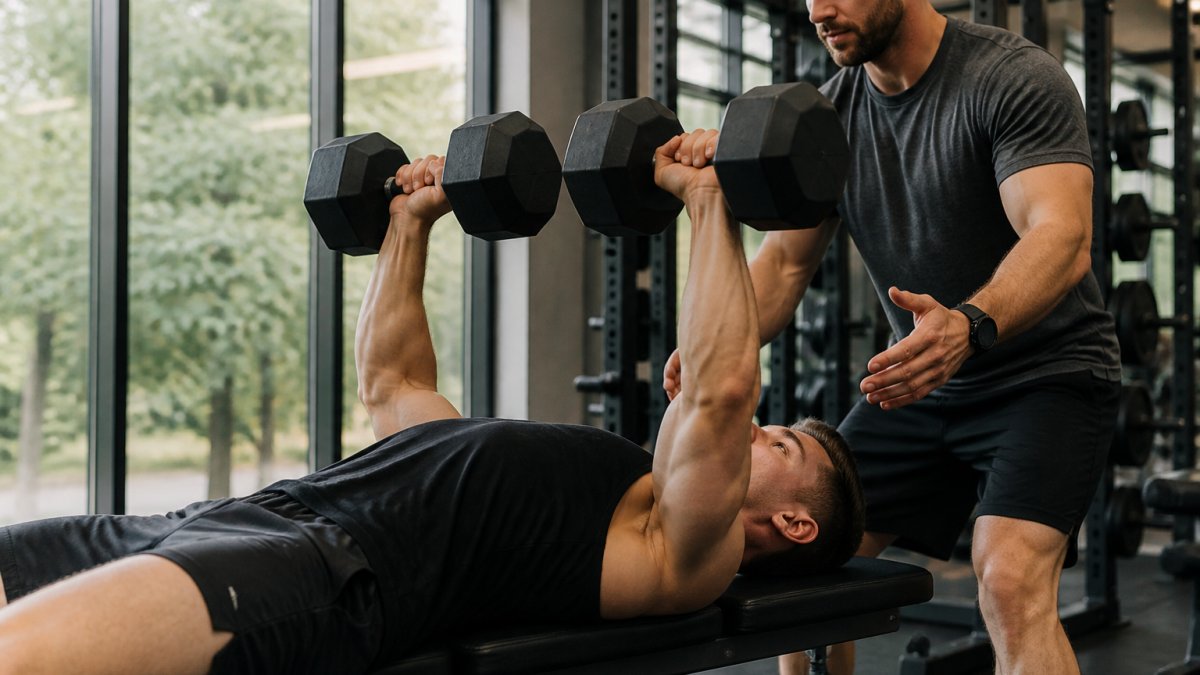
This phase lasts 2-3 weeks. Your goal is pain-free range of motion and neural activation, waking up the muscle without loading it.
Exercises for Phase 1:
- Bodyweight movements: Air squats, push-ups from knees, glute bridges, bird dogs
- Resistance band work: Banded rows, banded pull-aparts, banded lateral walks
- Isometric holds: Wall sits, plank holds, dead bugs (hold each position 20-30 seconds)
- Mobility drills: Arm circles, leg swings, cat-cow stretches, hip circles
Do 2-3 sets of 8-12 reps per exercise. RPE should stay 3-4. Zero pain. If pain appears, stop the set.
Track movement quality obsessively. Film yourself. Can you move through the full range? Is the injured side matching the uninjured side?
Key Takeaway Phase 1 is about proving you can move safely, not about building strength. Rushing out of this phase is how comebacks fail.
Phase 2: Isolated Strength Building
Once Phase 1 is clean for two weeks, add external load. Start light.
This phase lasts 3-4 weeks. You're rebuilding single-joint strength in controlled movements.
Exercises for Phase 2:
- Machine-based movements: Leg press, chest press, lat pulldown, leg curl, leg extension
- Cable exercises: Cable rows, cable flyes, cable lateral raises
- Dumbbells: Single-arm work at conservative weights
- Isolation bands: Banded leg extensions, banded face pulls
Do 3 sets of 8-12 reps. Start at 50% of your pre-injury weight. Yes, really. Build from there.
Track everything: weight, reps, RPE, pain, and how you feel the next day. Pain that appears 24 hours later is inflammation, a sign to regress.
Phase 3: Compound Movements and Full-Body Training
This phase begins when you've spent 4+ weeks in Phases 1 and 2 with zero pain and consistent strength gains.
Compound movements demand more from your nervous system and stabilizer muscles. Start conservatively.
Exercises for Phase 3:
- Squats: Goblet squats, then barbell back squats at 40-50% of your pre-injury max
- Deadlifts: Trap bar deadlifts, then conventional deadlifts at 40-50% of pre-injury max
- Pressing: Barbell bench press, overhead press, incline press at 40-50% of pre-injury max
- Rowing: Barbell rows, machine rows at 40-50% of pre-injury max
Do 3-4 sets of 5-8 reps. Prioritize form over weight. Film every set. Watch for compensation patterns.
This is where track strength gains after injury becomes critical. You're moving heavier weight and more complex patterns.
Tracking Asymmetry: Comparing Injured and Uninjured Sides
Most injuries create imbalances. Your injured side gets weaker. Your uninjured side compensates.
Add a column to your log: "Injured Side vs. Uninjured Side."
For single-arm exercises, note the weight and reps for each side separately:
| Exercise | Uninjured Side | Injured Side | Gap | Notes |
|---|---|---|---|---|
| Single Arm DB Row | 40 lbs × 8 | 35 lbs × 8 | 5 lbs | Good progress, gap closing |
| Single Arm DB Press | 30 lbs × 8 | 25 lbs × 8 | 5 lbs | Injured side hesitates at top |
| Single Leg Squat (assisted) | 15 reps | 12 reps | 3 reps | Stability improving |
Your goal is to close the gap. When both sides match, you're balanced. Until then, prioritize the injured side in your training.
A 10-15% gap is normal early in recovery. A 20%+ gap means you need to regress and rebuild more carefully.
Red Flags: When to Stop Training and Seek Professional Help
Pain is not always a sign to stop. Some discomfort is normal in rehabilitation. But certain pain patterns are warnings.
Stop immediately and see a professional if:
- Sharp, stabbing pain during a movement (not soreness, not a dull ache, sharp pain)
- Pain that worsens as the set progresses
- Pain that appears suddenly after weeks of being pain-free
- Swelling or heat in the joint during or after training
- Pain that doesn't resolve within 24 hours
- Pain that limits your range of motion compared to the day before
- Clicking, popping, or catching sensations in the joint
These are signs of inflammation, instability, or re-injury. They require assessment by a physical therapist or orthopedic specialist.
Soreness 24-48 hours after training is normal. Delayed-onset muscle soreness (DOMS) is expected.
The difference: soreness feels like muscle fatigue. Sharp pain feels like something is wrong. Trust that distinction.
Watch Out Pushing through sharp pain is how you turn a minor setback into a major injury. The gym will still be there after a professional assessment.
Frequently Asked Questions
How do you measure strength gains after an injury?
Measure strength objectively using three metrics: absolute load (weight lifted), repetitions completed at a fixed weight, and time under tension. Start with a baseline test of your uninjured side or your pre-injury max (if safe), then retest weekly. Track sets and reps in your workout log. Strength gains appear as increased weight, more reps at the same weight, or better movement quality, not just feeling stronger. Use the same exercises and form each test week to ensure valid comparisons.
What should I track when returning to strength training after an injury?
Log these data points daily: exercise name, weight used, reps completed, sets performed, pain level (0-10 scale), movement quality (full range of motion or restricted), and energy level. Track both injured and uninjured sides separately if applicable. Note any compensation patterns or asymmetry. Record weekly totals for training volume (total reps × weight). This data reveals whether you're progressing safely or heading toward setbacks, and helps your physical therapist guide your return to exercise after injury.
How often should I test strength after an injury?
Test maximum strength once per week, same day and time each week. More frequent testing creates fatigue and masks real progress; less frequent testing delays detection of plateaus or regression. On non-test days, perform submaximal work (70-85% of your current max) to build muscle and volume without constant nervous system strain. Weekly testing combined with daily logging gives you both fine grained progress data and reliable strength benchmarks for adjusting your training load.
Should I compare my injured side with my uninjured side?
Yes. Tracking asymmetry is critical during injury recovery. Test both sides weekly using the same exercise, weight, and rep range. A significant gap (>10% strength difference) signals incomplete recovery or compensation patterns. As you rebuild, the gap should narrow. Once both sides match your pre-injury baseline, you've regained functional capacity. If the gap widens or fails to improve after 2-3 weeks of consistent training, consult your physical therapist, it may indicate improper loading or ongoing joint instability.
Getting back to your full strength after injury requires patience, precision, and data. At Tiger Fitness, we've built tools to help you track every step. Our free fitness calculators and training app let you log workouts, monitor progress, and access injury-specific guidance, all designed for athletes rebuilding strength. Start tracking today and remove the guesswork from your comeback. Your data will tell you exactly when you're ready to progress.
Leave a comment