






EXERCISE MODIFICATIONS FOR JOINT PAIN
Managing Joint Pain During Strength Training
Table of Contents
- Why Joint Pain Happens During Strength Training
- Warm-Up Exercises for Painful Joints
- Strength Training With Arthritis: Adjusting Your Approach
- Exercise Modifications for Joint Pain
- Muscle Soreness vs Joint Pain: Know the Difference
- Managing Pain During and After Your Workout
- Building a Progressive Strength Training Plan
- Frequently Asked Questions
Last Updated: October 10, 2026
Why Joint Pain Happens During Strength Training
Joint pain during strength training isn't a sign you're weak. It's a sign you're loading tissue that needs time to adapt.
When you lift, your joints absorb force. Jump into heavy training without proper warm-up or progression, and tissues inflame faster than they repair.
Resistance training can improve pain, strength, and function in knee and hip osteoarthritis, but only when you train smart.
The good news is that managing joint pain during strength training is straightforward. You control the variables. Let me walk you through exactly how to do it.
Warm-Up Exercises for Painful Joints
Your warm-up isn't optional. It increases blood flow, lubricates cartilage, and activates stabilizer muscles. Skip it and you're loading cold, stiff tissue.
Dynamic Mobility Drills
Dynamic mobility preps joints for work ahead. Do before every session: arm circles (10 each direction), leg swings (10 each direction per leg), bodyweight squats (10-15), cat-cow (10), inchworms (8-10), glute bridges (15). Five minutes. Zero cost. Prevents months of downtime.
Low-Impact Activation Sets
After dynamic mobility, do light activation work: shoulders (2x15 band pull-aparts), knees (2x15 bodyweight squats), hips (2x15 glute bridges). Goal is activation, not fatigue, wake up stabilizers and prep the nervous system.
Strength Training With Arthritis: Adjusting Your Approach
Strength training with arthritis is therapeutic, not contraindicated. Research is clear: appropriately dosed resistance training reduces pain and improves function. The dose depends on your diagnosis and symptom duration.
Osteoarthritis vs. Rheumatoid Arthritis: Different Starting Points
Osteoarthritis is mechanical wear, cartilage thinned, bone-on-bone contact. Stronger muscles absorb force and reduce stress. Start: 12-15 reps, 50-60% pain-free max, 90-120 sec rest, 2-3x per week per joint. Build muscle without inflammation lasting beyond 24 hours.
Rheumatoid arthritis is systemic inflammation, immune system attacks joint tissue. Pain is bilateral, morning stiffness severe, fatigue real. Start lighter: 12-15 reps, 40-50% pain-free max, 2-3 min rest, 2x per week.
Recent injury or post-surgical recovery (within 8-12 weeks) requires most caution. Start: 15-20 reps, 30-40% pre-injury load. Avoid sharp pain or swelling lasting 2+ hours. Progress 5% every 2 weeks, not weekly.
Finding Your Starting Load: The Pain-Response Test
Test it. Pick an exercise (leg press). Load to 50% of your estimated 10-rep max. Do 12 reps. Rate pain 0-10 during set, at 2 hours, and next morning.
Right load: Pain 0-3 during set, same or lower at 2 hours, 0-2 next morning, stiffness resolves in 30 min. Too heavy: Pain 4+ during set, higher at 2 hours (inflammation building), 3+ next morning. Drop 10-15% and retest in 3-5 days to avoid boom-bust cycles.
Progressive Adjustments by Diagnosis
Osteoarthritis: Add 5-10% load every 2 weeks. If pain exceeds 3 during or 2 next morning, hold for another week. Expect progress over 8-12 weeks. Rheumatoid arthritis: Add 5% every 3 weeks. On high-inflammation weeks, maintain load, consistency beats speed. Post-injury: Progress 5% every 2 weeks for 8 weeks, then 10% every 2 weeks if pain stays 0-2. Full return takes 12-16 weeks.
Frequency and Recovery Demands
Osteoarthritis: 3 sessions per week, 48 hours between same-joint sessions. Rheumatoid arthritis: 2 sessions per week, 72 hours between. Post-injury: 3 sessions per week weeks 1-4, then 4 if pain normal. More frequency doesn't help when inflammation is a factor, consistency and recovery matter most.
Exercise Modifications for Joint Pain
Most people push through pain instead of modifying. Modification isn't weakness, it's intelligence. Find a variation that loads the muscle without irritating the joint. Train around the problem, not through it.
Lower-Body Substitutions
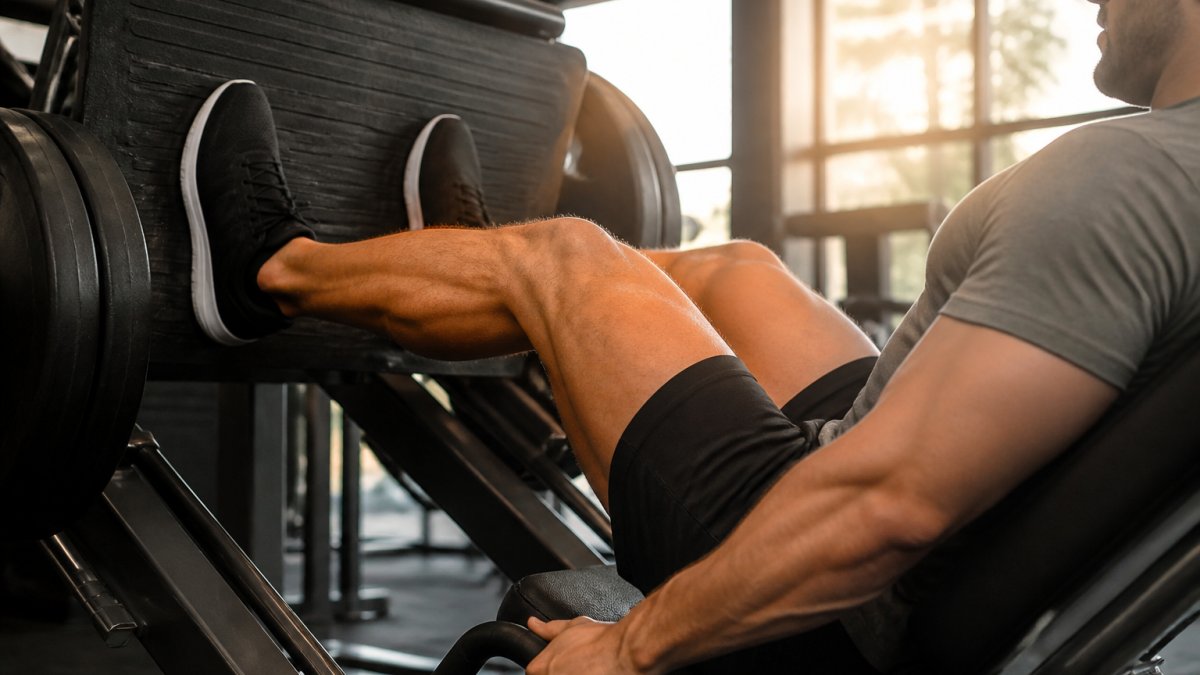
Knee pain (squats): Switch to leg press or belt squats, same pattern, different angle. Knee pain (lunges): Step-ups on lower platform, reduced ROM. Hip pain (deadlifts): Reduce ROM, elevate bar with blocks, or use leg press. Ankle pain (calf raises): Machine or leg press, reduced ROM.
Upper-Body Alternatives
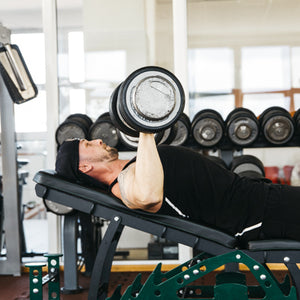
Shoulder pain (bench): Use dumbbells or machine press, reduce ROM. Shoulder pain (overhead): Lower weight, use dumbbells or machine, reduce ROM. Elbow pain (curls): Use dumbbells or cable, change angle. Wrist pain (pressing): Use neutral grip, avoid supinated grips. Pattern: change angle, reduce ROM, or switch tools. Muscles don't care. Joints do.
Muscle Soreness vs Joint Pain: Know the Difference
Most people confuse muscle soreness with joint pain and stop when they should keep going. Muscle soreness: dull, generalized, peaks 24-48 hours, improves with movement. Joint pain: sharp, localized, worsens with load, persists without improvement. Test: pain improves with warmup = soreness (train through it). Pain worsens = joint pain (modify or stop).
Managing Pain During and After Your Workout
Pain management requires monitoring during the set and in the hours and days after. Your next-day response tells you if the load was appropriate.
The Pain-Monitoring Scale: During the Set
Use 0-10 scale during every set: 0-2 (no pain, push intensity), 3-4 (mild discomfort, monitor; reduce 5-10% next session if persistent), 5-6 (moderate, reduce ROM/load immediately, no more sets), 7-8 (significant, stop exercise, switch to modification), 9-10 (severe, stop training, rest, ice if swelling, see pro if unresolved in 48 hours).
Track this data. Patterns emerge: certain movements consistently hit a 4, others stay at 1. This tells you what to modify and what to keep.
The 24-Hour Response: What Comes Next Matters More
Normal 24-hour response: Pain during set 2-3, at 2 hours same or lower, next morning 0-2, mild stiffness resolving in 30 min, no swelling. Green light, repeat this load and volume next session.
Caution response: Pain during set 3-4, at 2 hours 4-5 (inflammation building), next morning 3-4, moderate stiffness (45+ min to resolve), noticeable swelling. You pushed too hard.
Stop response: Pain during set 5+, at 2 hours 6+, next morning 5+ or sharp, severe stiffness, obvious swelling. Real inflammatory response. Rest 3-5 days, ice 15 min 3-4x daily if swelling present.
Decision Tree: When to Modify, Reduce, or Rest
Reduce volume (sets or reps) if:
- Pain is 3-4 during the set, but 2 hours post-workout it's 4-5 (inflammation building).
- The next morning pain is 3-4 and stiffness is moderate.
- This happens on 2+ consecutive sessions with the same movement.
Example: You're doing 4 sets of leg press. Pain is 3 on set 1, 4 on set 2, 5 on set 3. Cut to 3 sets.
Take a full rest day if:
- Pain is 5+ during the set.
- Pain 2 hours post-workout is 6+.
- The next morning pain is 5+, or pain is sharp (not dull).
- Swelling is present.
- This is the second consecutive session with a stop-level response.
Rest 3-5 days. Ice the joint if swelling is present. When you return, start with 50% of the load that caused the problem.
Take a full training week off if:
- Multiple joints are painful at 5+ levels.
- Pain doesn't improve within 48 hours of rest.
- Swelling is significant or spreading to other joints.
- You have systemic symptoms (fever, fatigue, widespread joint pain).
This suggests overtraining or an underlying issue that needs professional assessment. Rest and recover. See a doctor if symptoms persist beyond one week.
Tracking Your Response: The Simple Log
After every session, write down:
- Exercise: Name and load (e.g., "Leg press, 315 lbs").
- Pain during set: 0-10 scale.
- Pain 2 hours post-workout: 0-10 scale.
- Pain next morning: 0-10 scale.
- Stiffness next morning: None / Mild / Moderate / Severe.
- Swelling: None / Slight / Noticeable / Significant.
- Decision for next session: Repeat / Modify / Reduce / Rest.
Over 4 weeks, patterns emerge. You'll see which movements are safe, which need modification, and which loads trigger inflammation. This data is gold. It tells you exactly how to progress without guessing.
Building a Progressive Strength Training Plan
Progressive training doesn't mean adding weight every week. It means adding volume, intensity, or frequency over time in a way that lets your joints adapt.
Here's a three-phase approach. Start here. Progress methodically.
Phase 1: Foundation and Mobility (Weeks 1-2)
Your job is to establish baseline strength and joint tolerance.
- Frequency: 3 days per week, full-body.
- Volume: 3 sets per exercise, 12-15 reps.
- Load: 50-60% of your 1-rep max (or a weight you could do for 20 reps if you pushed hard).
- Rest: 90 seconds between sets.
- Focus: Perfect form, controlled tempo, zero pain above a 3.
Sample workout:
Leg press: 3x12. Chest press (machine or dumbbell): 3x12. Lat pulldown: 3x12. Shoulder press (machine): 3x12. Leg curl: 3x12. Bicep curl: 3x12.
This establishes a baseline. You're building work capacity without stressing the joints.
Phase 2: Controlled Resistance (Weeks 3-4)
Now you add load, but carefully.
- Frequency: 3 days per week, full-body.
- Volume: 3-4 sets per exercise, 10-12 reps.
- Load: 65-75% of your 1-rep max.
- Rest: 90 seconds between sets.
- Focus: Maintain form, increase load by 5-10%, zero pain above a 3.
Sample workout:
Leg press: 4x10. Chest press: 4x10. Lat pulldown: 4x10. Shoulder press: 4x10. Leg curl: 3x12. Bicep curl: 3x12.
You're adding one set to compound movements and increasing load. Your joints are adapting.
Phase 3: Progressive Load (Weeks 5+)
Once you've built tolerance, you can progress more aggressively.
- Frequency: 4 days per week (upper/lower split or push/pull/legs).
- Volume: 3-5 sets per exercise, 6-12 reps depending on the movement.
- Load: 75-85% of your 1-rep max, increasing 5-10% every 1-2 weeks.
- Rest: 60-90 seconds between sets.
- Focus: Steady load progression, maintain form, monitor pain daily.
Sample upper-body day:
Incline dumbbell press: 4x8. Lat pulldown: 4x8. Shoulder press: 3x10. Cable row: 3x10. Lateral raise: 3x12. Tricep pushdown: 3x12.
You're training harder now. Your joints are stronger. Keep monitoring pain.
The progression takes discipline. You're not adding 20 pounds per week. You're adding 5-10 pounds every 1-2 weeks. This seems slow. It's not.
Managing joint pain during strength training is about respecting the tissue you're loading. Start with a solid warm-up. Use proper form. Progress gradually. Monitor pain honestly.
Your joints will adapt. You'll get stronger. You'll stay in the gym long-term instead of spending months rehabbing an injury you could have prevented.
To dial in your programming and track progress systematically, use FREE TOOLS & FITNESS CALCULATORS to estimate your starting loads and monitor your advancement week to week. Combined with smart programming, consistent effort, and joint support supplements like Animal Flex and MTS Machine Motion, these tools can help keep you training hard and pain-free for years.


Frequently Asked Questions
Should I keep lifting weights if my joints hurt?
Yes, but with modifications. A 2024 review found that resistance training improved pain, strength, and function in people with knee and hip osteoarthritis. The key is distinguishing between joint pain that signals you need to modify (sharp, localized, doesn't improve with rest) versus muscle soreness (dull, widespread, improves within 24-48 hours). Start with lighter weights, focus on controlled form, and use the pain-monitoring scale in this guide to track your response. If pain persists or worsens after 48 hours, consult a healthcare provider.
What's the difference between muscle soreness and joint pain?
Muscle soreness (DOMS) appears 24-48 hours after training, feels dull and widespread across the muscle belly, and improves with movement and stretching. Joint pain is typically sharp or stabbing, localized to the joint itself, appears during or immediately after the exercise that causes it, and worsens with the same movement the next day. If you experience joint pain during a set, stop that exercise and modify it. Muscle soreness means your training worked; joint pain means you need to adjust your approach.
How do I modify strength training exercises for joint pain?
Reduce your range of motion first, then reduce weight. For example, if full-range squats hurt your knees, perform partial-range squats to a comfortable depth. If bench press bothers your shoulders, use a narrower grip or reduce the depth. Substitute high-impact movements: replace barbell back squats with leg press or Smith machine squats; replace dumbbell bench press with machine press. Increase rest periods between sets from 60 seconds to 90-120 seconds to allow joint recovery. Use supplements like Animal Flex or MTS Machine Motion to support joint health alongside your training adjustments.
What warm-up exercises help reduce joint pain during workouts?
Start with 5-10 minutes of low-impact cardio (walking, stationary bike) to increase blood flow and lubricate joints. Follow with dynamic mobility drills: arm circles, leg swings, torso twists, and hip circles for 10-15 reps each. Then perform 1-2 light activation sets of your main lift with 40-50% of your working weight, focusing on controlled form and full range of motion. This primes your joints and nervous system without causing fatigue. Avoid static stretching before lifting; save that for post-workout recovery.
Leave a comment